You can add every element to the canvas by clicking the element in the left side panel.
To remove an element, select it on the canvas so that has a bright blue frame around it. Then hit delete or backspace on your keyboard.
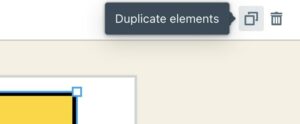
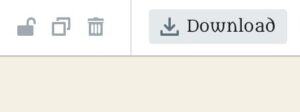
Alternatively, you can select the element and click the trash button above the canvas.
You can delete multiple elements at once.
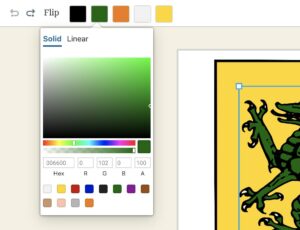
When you select an element on the canvas, two to five color fields appear above the colors. Click on a field and the color picker pops up.
Each field represents one of the colors of the element (up to five are possible). When you assign a new color, all parts of the elements change which have the former color switch to the newly selected one.
In addition, you can pick every other color in the large colors field or add a hexcode for your color.
The colors you have used last will be stored in the color picker. They will be overwritten if you pick new colors.
With the transparency slider you can set parts of elements to be opaque or make them invisible. This is especially helpful creating complex divisions by putting multiple shields on top of each other.
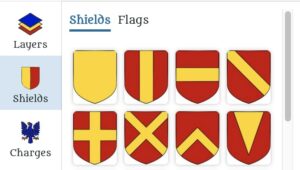
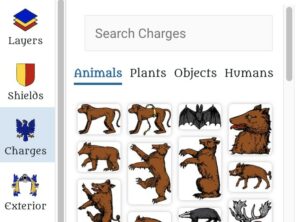
The elements in CoaMaker are structured in Sections and Tabs. You find the Section at the left of the Side Panel. Once clicked, the Tabs of the selected Section are displayed.
The current Sections and Tabs are:
- Shields Section, Tabs: Shields, Flags
- Charges Section, Tabs: Animals, Plants, Objects, Humans
- Exterior Section, no Tabs yet
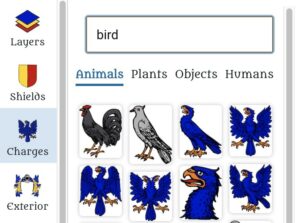
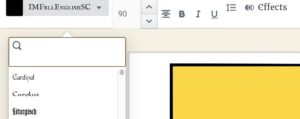
Instead of clicking through the navigation, you can just search an element by typing the name.
The Search Function uses English keywords. You can search for regular names and heraldic terms: The rabbits will show up if you search for “rabbit” or for “hare”.
Each element has several keywords. You can search for “mammal”, “bird”, “weapon”, “religion”, “plant”, “building”, “instrument”, “tool”, etc.
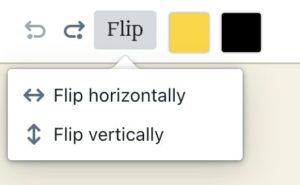
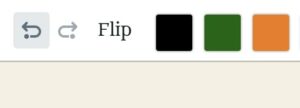
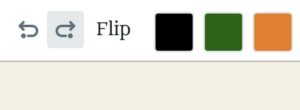
After selecting an element, you can flip it vertically or horizontally. You find the Flip Button above the canvas.
Flipping does not work when selecting more than one element at once.
You can duplicate one or more selected elements by clicking the duplicate button which you find above the canvas.
Instead, you can use Ctrl+C and Ctrl+V or Cmd+C and Cmd+V.
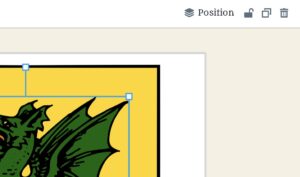
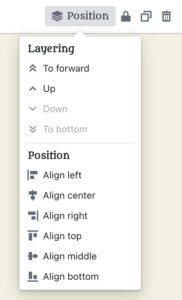
All elements on the canvas have a hierarchy. You can move the elements up and down in the Position Menu.
With the help of the position options, you can adjust elements to the left, right, middle, top, or bottom of the canvas.
When you select multiple elements they are treated as a group and keep their relative positions to each other.
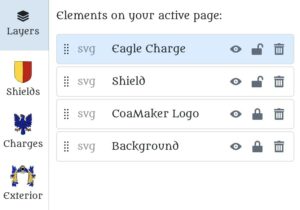
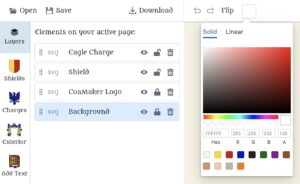
PRO users have access to the advanced Layer Section in the Side Panel on the left.
In the Layer Section, you can move layers up and down easily, rename them to find them faster, hide them, lock and delete them.
All layer options are saved and reloaded when using the Save and Open functions.
You can undo and redo all actions, for example: moving an element, deleting an item, changing a color.
If you reload the page, the history is deleted and you cannot recover actions.
You find the buttons for undo and redo above the canvas.
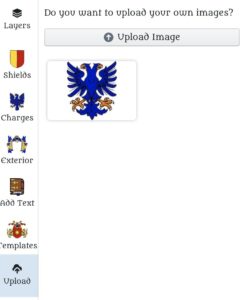
PRO users can upload elements to the canvas in the Upload Section. Uploaded images appear underneath the Upload Image Button.
The uploads are not stored, they are gone when you refresh the page.
You can upload vector graphics (.svg) and pixel image files (.jpg, .jpeg, .png).
Vector graphics can be re-colored in CoaMaker by using the color picker above the canvas. However, the function is limited to a maximum of five colors.
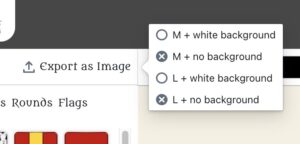
Pixel images can be formatted in different ways when you select them. In addition, you can drag and drop a pixel image to an element on the canvas and it will take its shape.
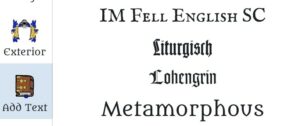
With CoaMaker PRO you can add text to the canvas. You find the Text Section in the left Side Panel.
From the Side Panel you can choose from twelve pre-selected fonts.
When you select the text on the canvas, you can style the text with plenty of options: select another font, change font size and color, etc.
PRO users can change the background color in the Layer Section in the Side Panel on the left.
The background element can be selected from here and the color can be adjusted.
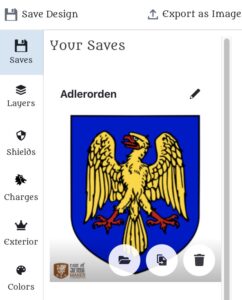
PRO users can save their designs and open them again on our server. Just click on “Save Design” and give your save a name. You can open it by clicking the folder on your saved design.